 Echolot
WebSocket and SSE
Connect to WebSocket servers, send saved and one-off messages, and follow server-sent event streams as they arrive.
WebSocket requests open a connection that stays up: you send messages and see the server's as they come. Server-sent events (SSE) are ordinary HTTP requests whose response keeps streaming; Echolot shows each event as it arrives.
WebSocket requests
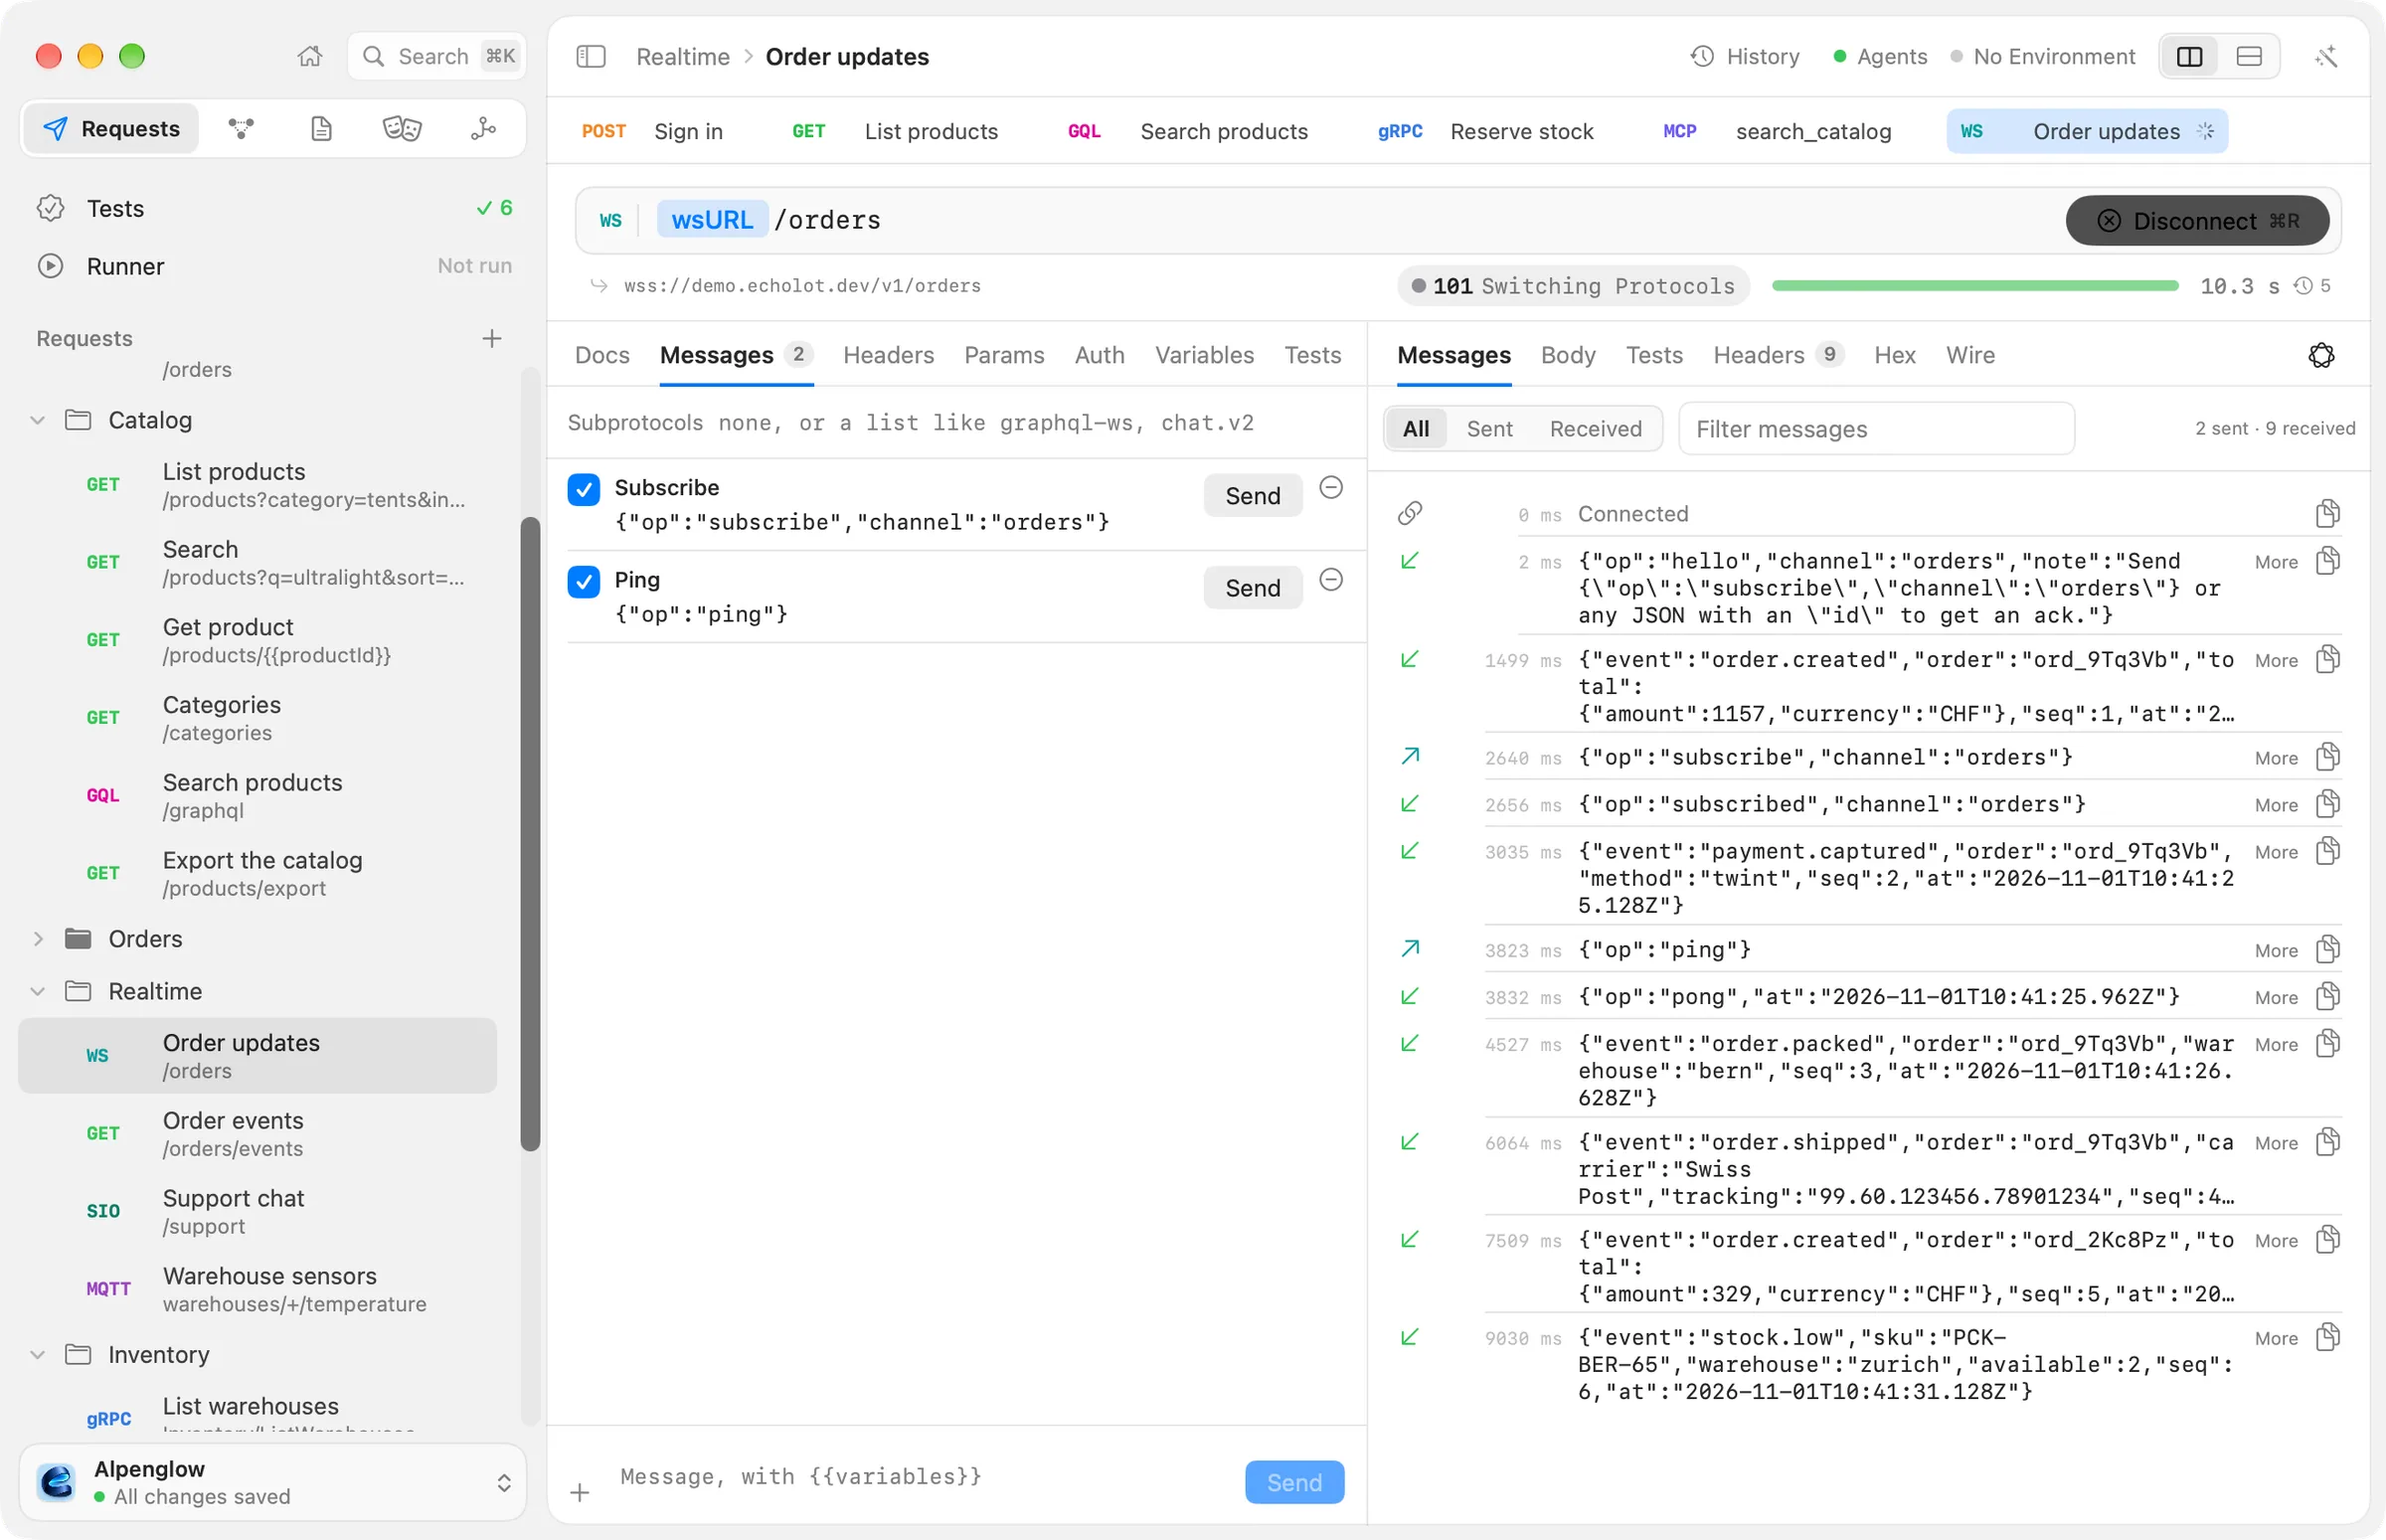
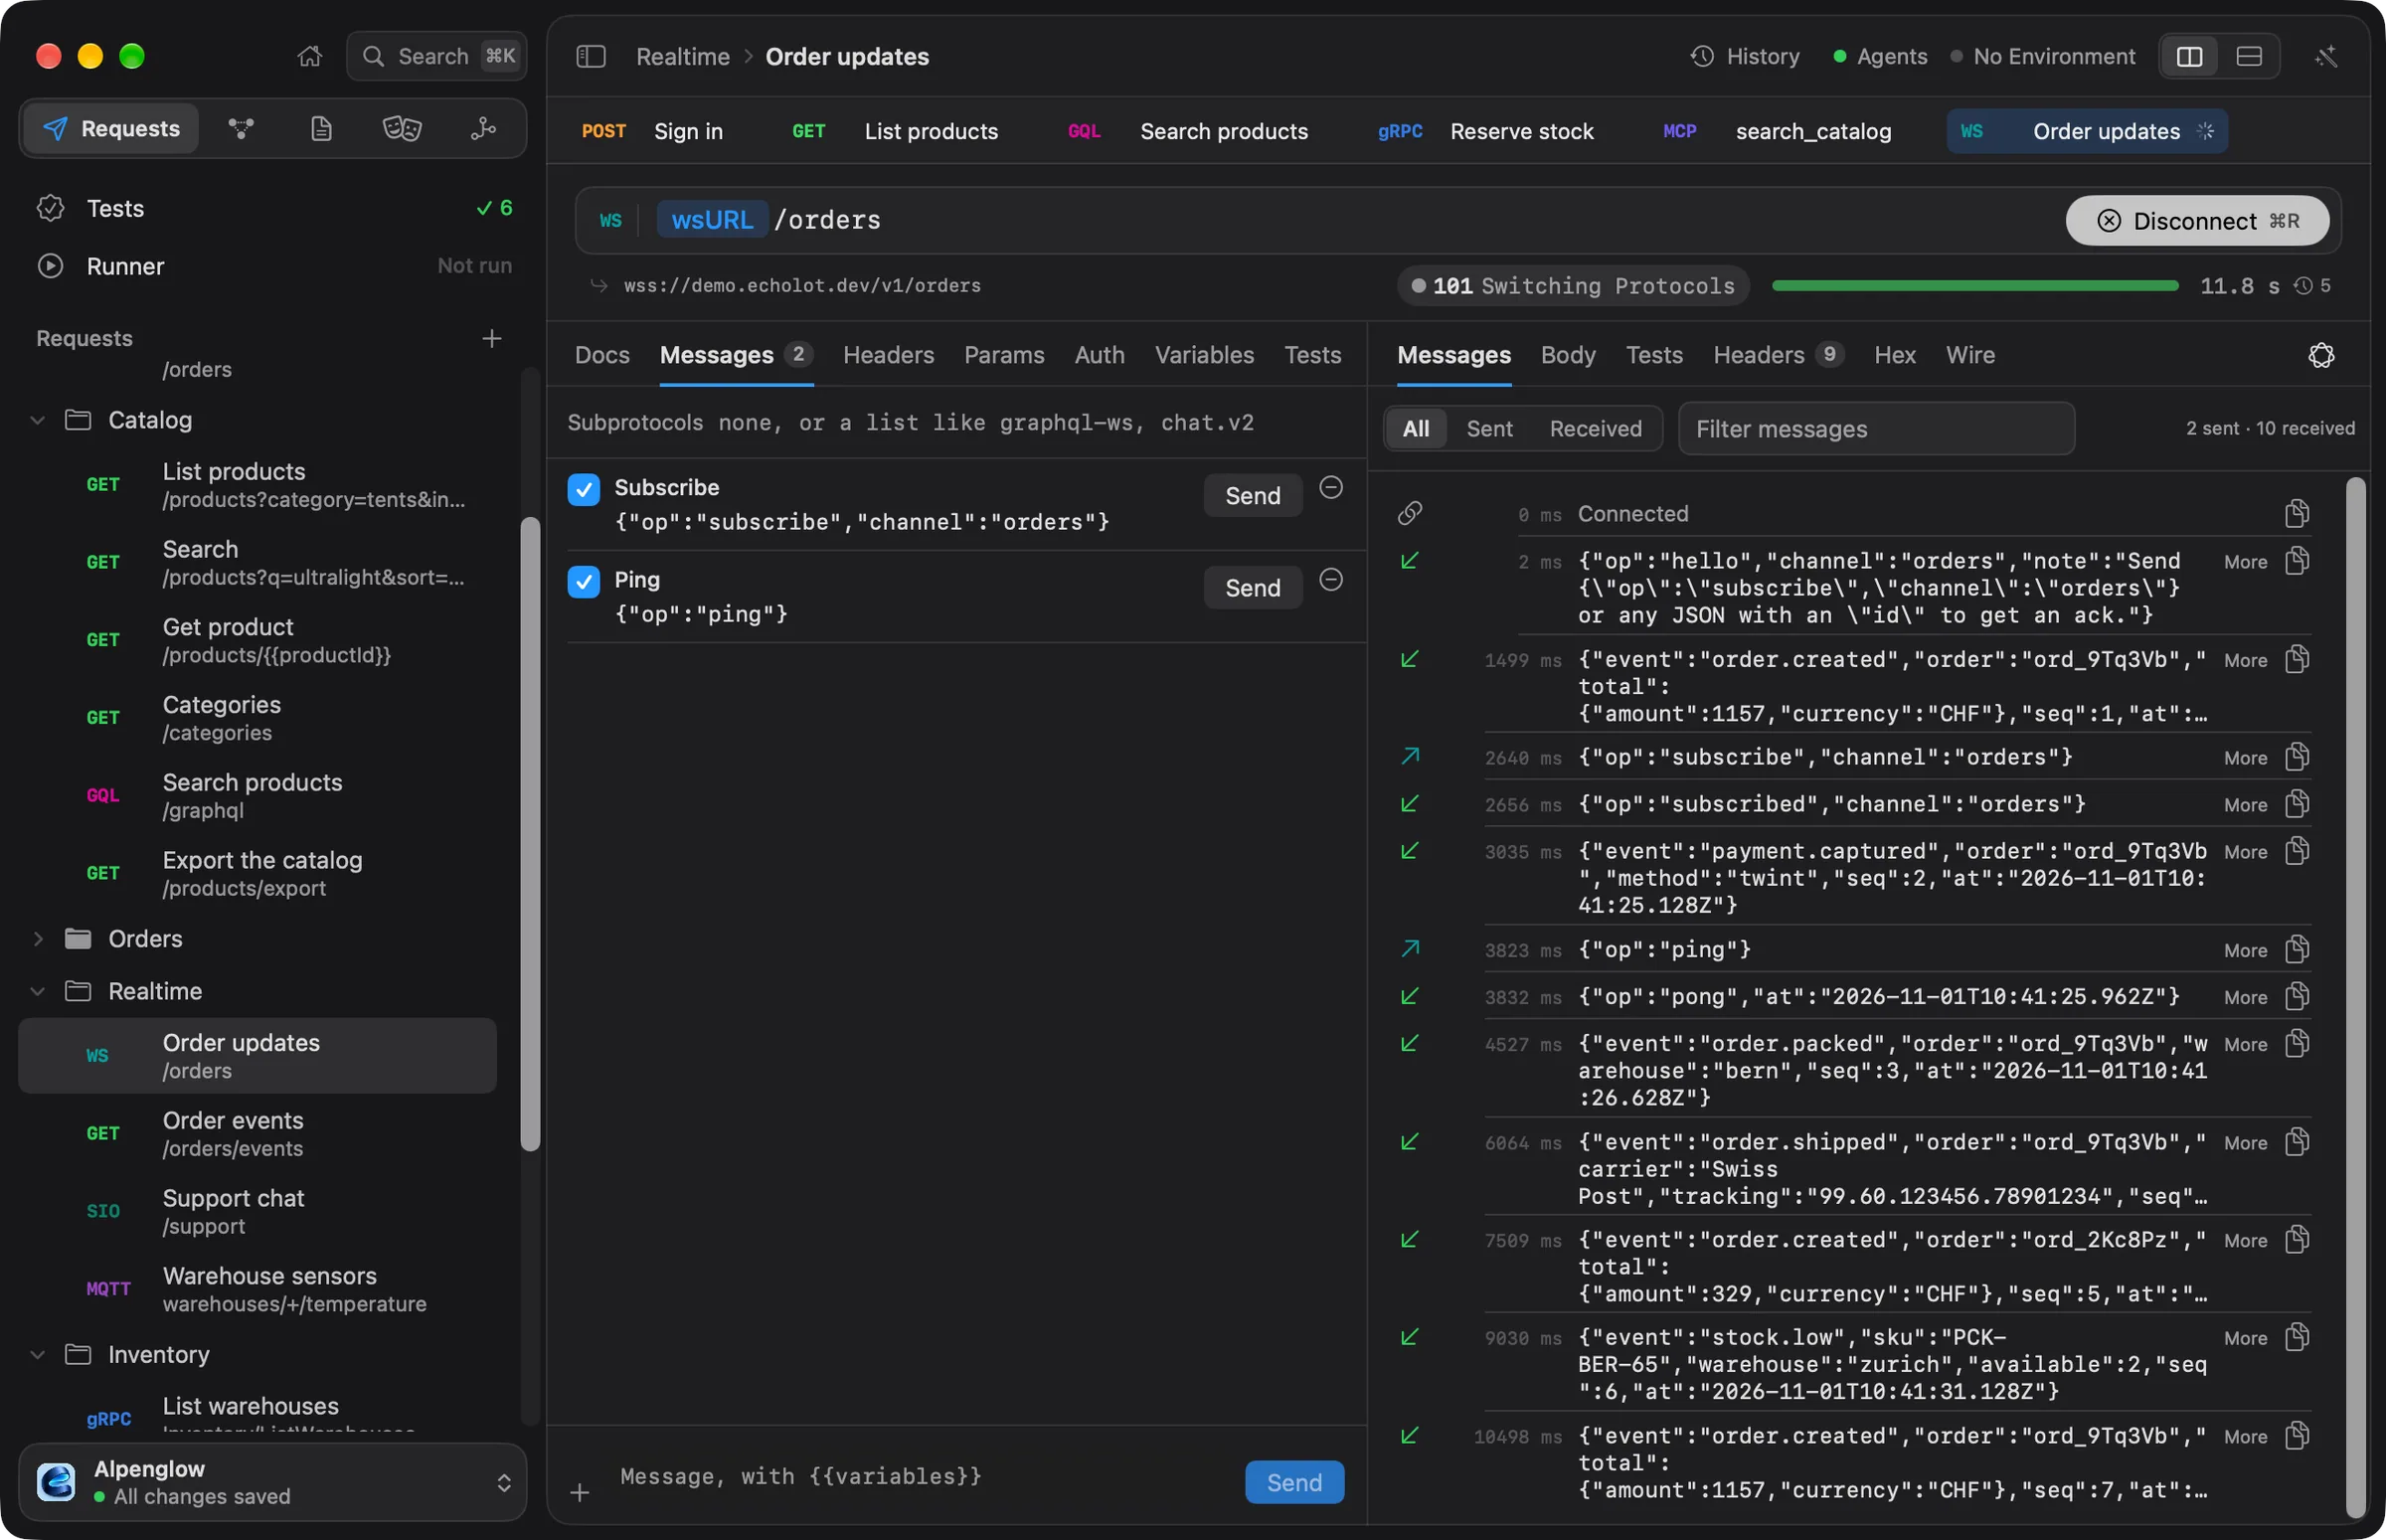
Connect
- Choose File › New WebSocket Request, or New WebSocket Request from the + menu beside Requests in the sidebar.
- Type the address, starting with
ws://orwss://. Alpenglow's Realtime › Order updates uses{{wsURL}}/orders, which iswss://demo.echolot.dev/v1/orders. - Choose Connect (⌘R).
While the connection is open the button reads Disconnect (⌘R again). With a protected environment active it reads Connect to Production… (with that environment's name) and asks first. See protected environments.
The editor has these tabs: Docs, Messages, Headers, Params, Auth, Variables, Tests, Scripts and Settings. Headers, query parameters and auth go with the opening handshake (the HTTP upgrade), so a server that wants a token in a header or the address gets it there. Settings such as TLS verification, the proxy and certificates apply as for HTTP requests.
Subprotocols
At the top of the Messages tab, Subprotocols lists the protocols to offer the server, separated by commas,
such as graphql-ws, chat.v2. Leave it empty for none.
Send messages
At the bottom of the Messages tab, type a message and choose Send (⇧⌘↩).
{{variables}} work in it. The field reads Connect to send messages until the connection is open.
Messages you send often can be saved with the request. Choose + beside the field to save what you typed. Each saved message has a name, its text and its own Send button. Order updates has two:
{"op":"subscribe","channel":"orders"}{"op":"ping"}The box at the start of a saved message, Send in runs, decides whether it is sent when the request runs without you: in the runner, from the command line, or for an agent. Those send the enabled messages in order after connecting, then listen for 10 seconds and close.
The message log
The response pane's Messages tab shows the session as it happens: every message both ways, newest last, with its time and size, and the moments the connection opened and closed.
- All, Sent and Received filter by direction.
- Filter messages finds messages by their text.
- More shows a JSON message pretty-printed; Less folds it again.
- The copy button copies a message.
Echolot answers the server's pings itself. A message joined from fragments may be up to 64 MB; a larger one closes the connection with code 1009.
When the connection closes, the session is kept in History: the handshake as the request, and the message log as the response body.
Server-sent events
A server-sent events stream is an HTTP response of type text/event-stream that keeps sending events. Use a normal
HTTP request for it: there is nothing to set up beyond the address.
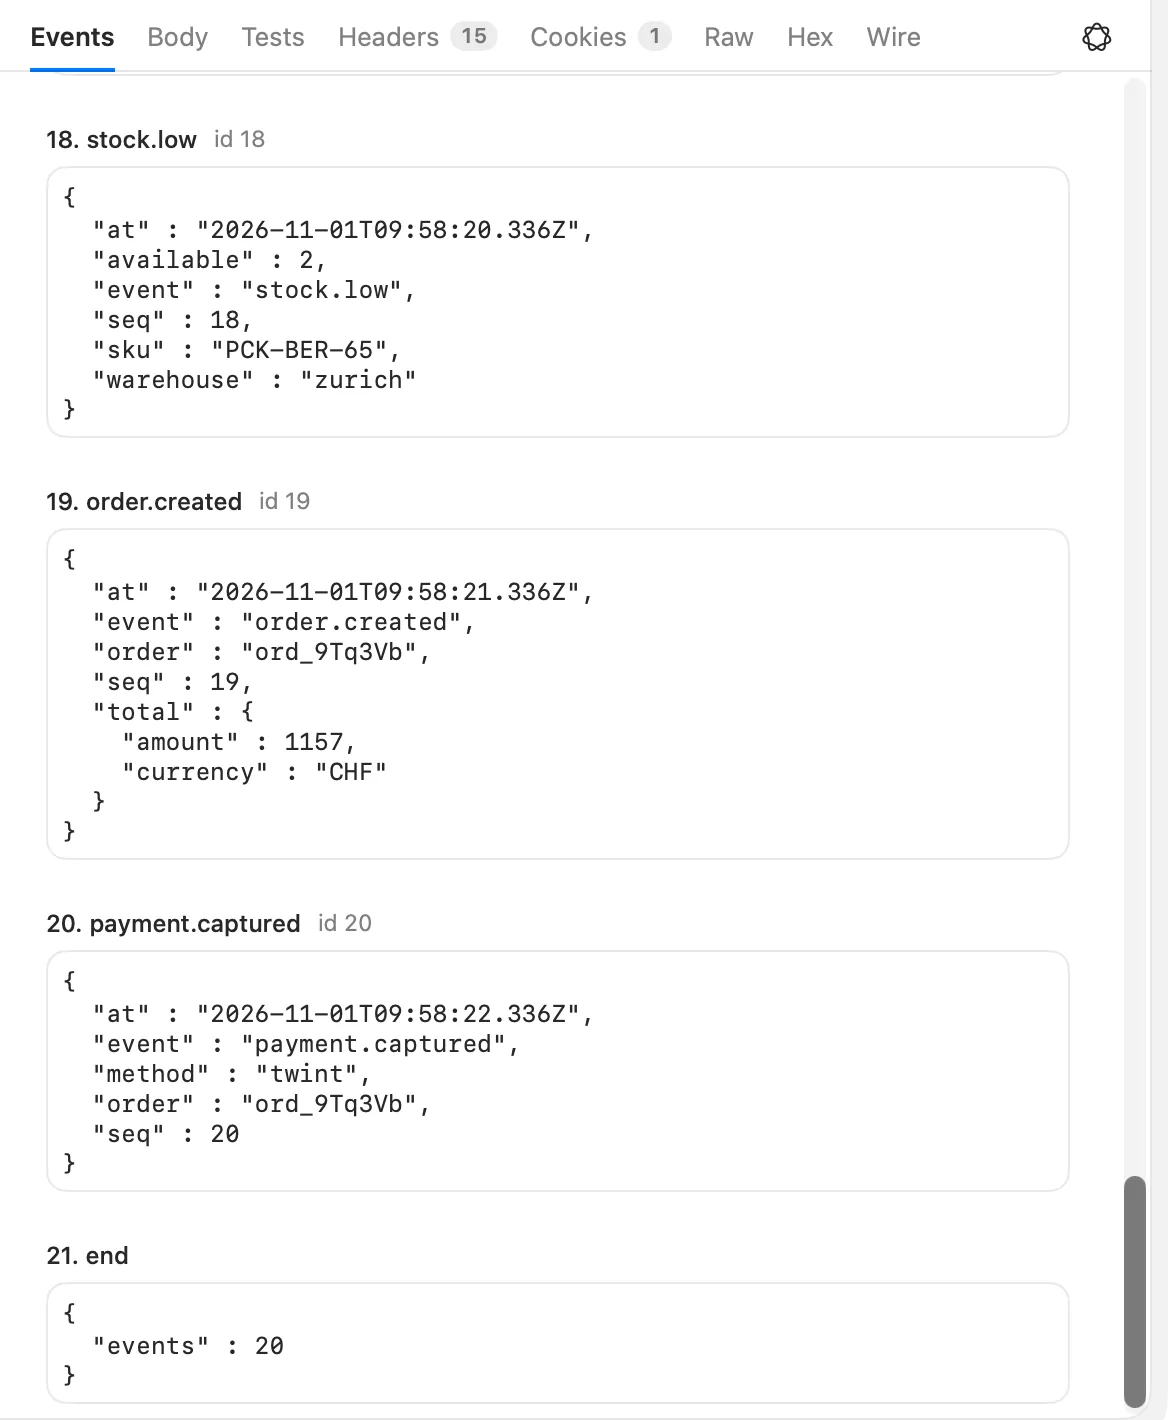
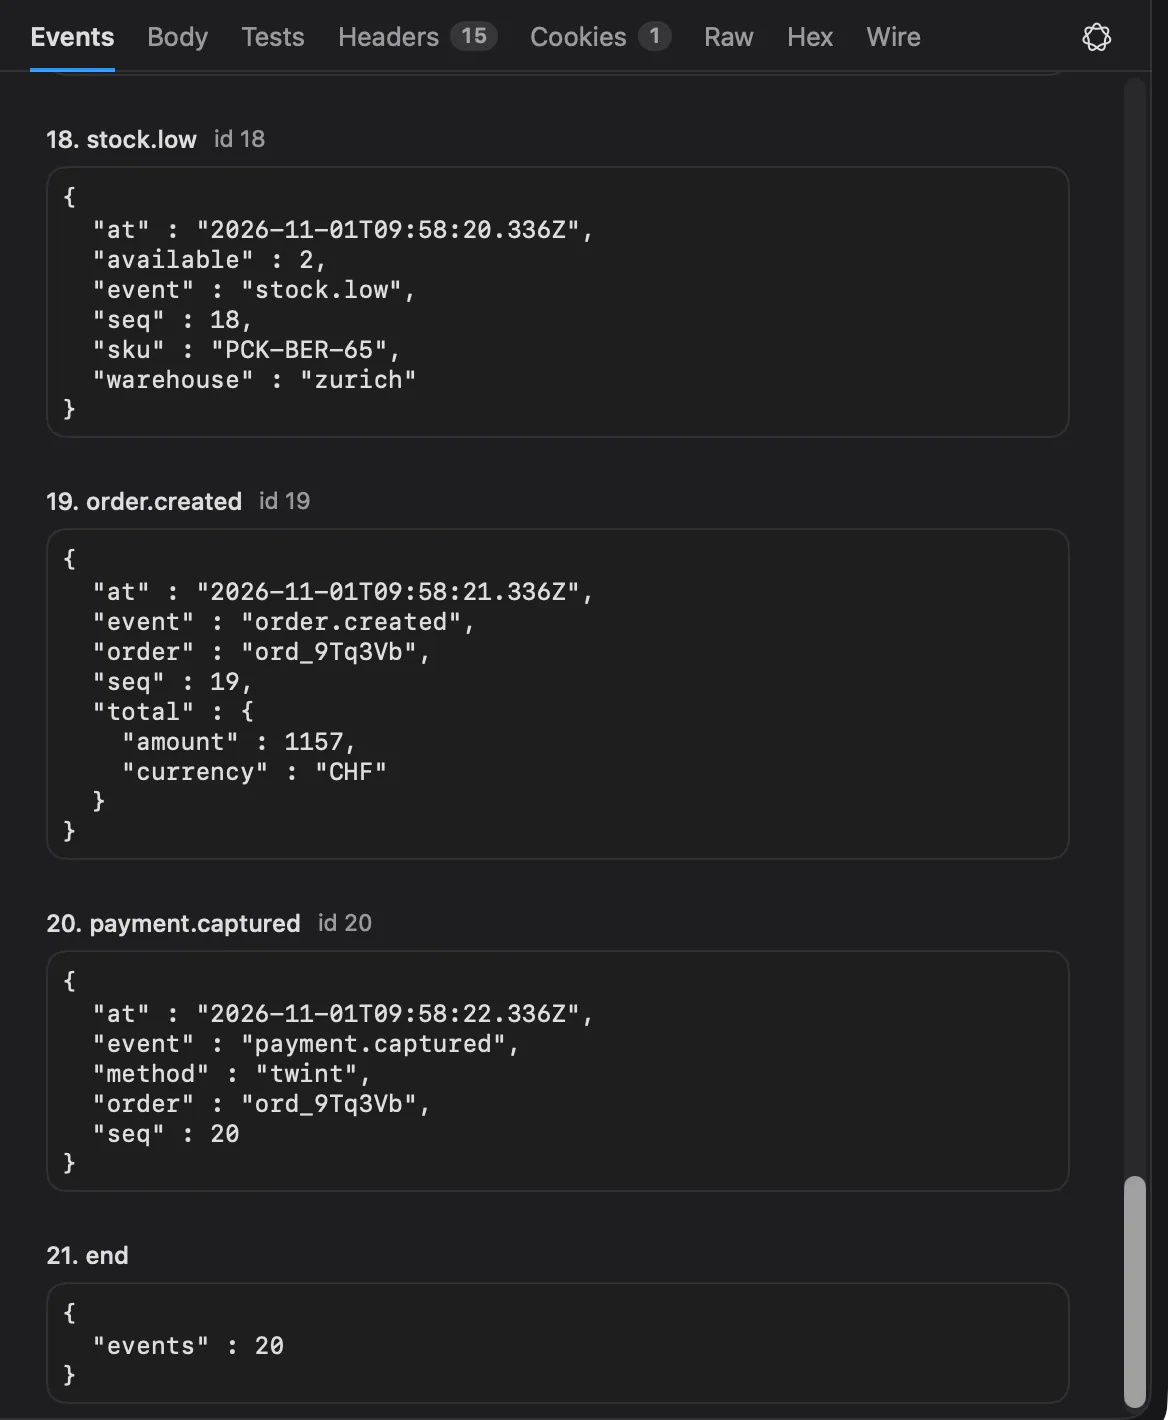
- Open Realtime › Order events in the Alpenglow workspace. It sends
GET {{baseURL}}/orders/eventswithAccept: text/event-stream. - Choose Send.
- Choose the Events tab in the response pane.
The Events tab lists each event in order, numbered, with its event name and its id (id:), and the data as JSON
when it is JSON. It follows new events while the stream runs and counts them. The Body tab shows the stream as
the server wrote it, growing as it arrives.
The stream runs until the server ends it or you choose Cancel (⌘.); what arrived is kept. Once a stream has started, the request's total timeout no longer applies to it. In runs, from the command line and for agents, a stream is ended after 10 seconds.
To resume a stream where it stopped, send the last event's id back in a Last-Event-ID header. The demo API's stream
sends 20 events a second apart, then end, and honours Last-Event-ID.
GraphQL subscriptions over HTTP use server-sent events too: see GraphQL.
From the command line
echolot send opens WebSocket and Socket.IO sessions and follows event streams from the terminal. See
echolot send and the realtime tutorial.