 Echolot
Your first workspace
Make a workspace from nothing against the demo API, with requests, a folder, an environment, a secret and Git.
In this tutorial you make a workspace of your own for the Alpenglow shop: two requests in a folder, an environment that holds the server's address, a password kept in the Keychain, and a Git repository for all of it.
- Time: 15 minutes.
- You need: Echolot, and Git for the last part (
git --versionin Terminal; macOS offers to install it). - You learn: how a workspace is laid out on disk, and why it is safe to commit.
1. Make the workspace
- In the Welcome to Echolot window, choose New Workspace…. From a workspace window, choose File › New Workspace… (⌥⌘N).
- In the New Workspace panel, name it
Alpenglow Shopand pick a folder, such as~/Projects. Echolot adds the.echolotextension. - Choose Create.
A window opens with This workspace is empty. On disk, Alpenglow Shop.echolot is a folder that holds
workspace.toml and an empty requests folder. In the Finder it looks like one file, and double-clicking it opens
the workspace.
2. Send your first request
-
Choose New Request on the empty page, or File › New Request (⌘N). The request appears in the sidebar with its name ready to edit.
-
Type
List productsand press ↩. -
Leave the method on GET. In the URL field, type:
https://demo.echolot.dev/v1/products?category=tentsThe query parameter also shows up in the Params tab, where you can edit it as a table.
-
Choose Send (⌘R, or ⌘↩).
The response pane shows 200 OK, the time and the size. The Body tab holds the products as JSON. Switch its
view to JSON Tree to fold and unfold the list. The responses page explains every tab.
There is no Save command: Echolot saves a request a moment after you stop typing. The foot of the sidebar says All changes saved.
3. Put requests in a folder
- Choose File › New Folder (⇧⌘N), type
Catalogand press ↩. - Drag List products onto Catalog.
- Right-click Catalog and choose New Request. Name it
Get product. - Set its URL to
https://demo.echolot.dev/v1/products/TNT-MH-2Pand send it.
You get one tent, the Matterhorn 2P, with its price and stock in Zurich and Bern. Each request is its own file:
requests/catalog/get-product.req.toml. Folders can also carry auth, variables and scripts for every request in
them; see folders.
4. Move the address into an environment
Typing the server's address into every request makes switching servers hard. Put it in an environment instead.
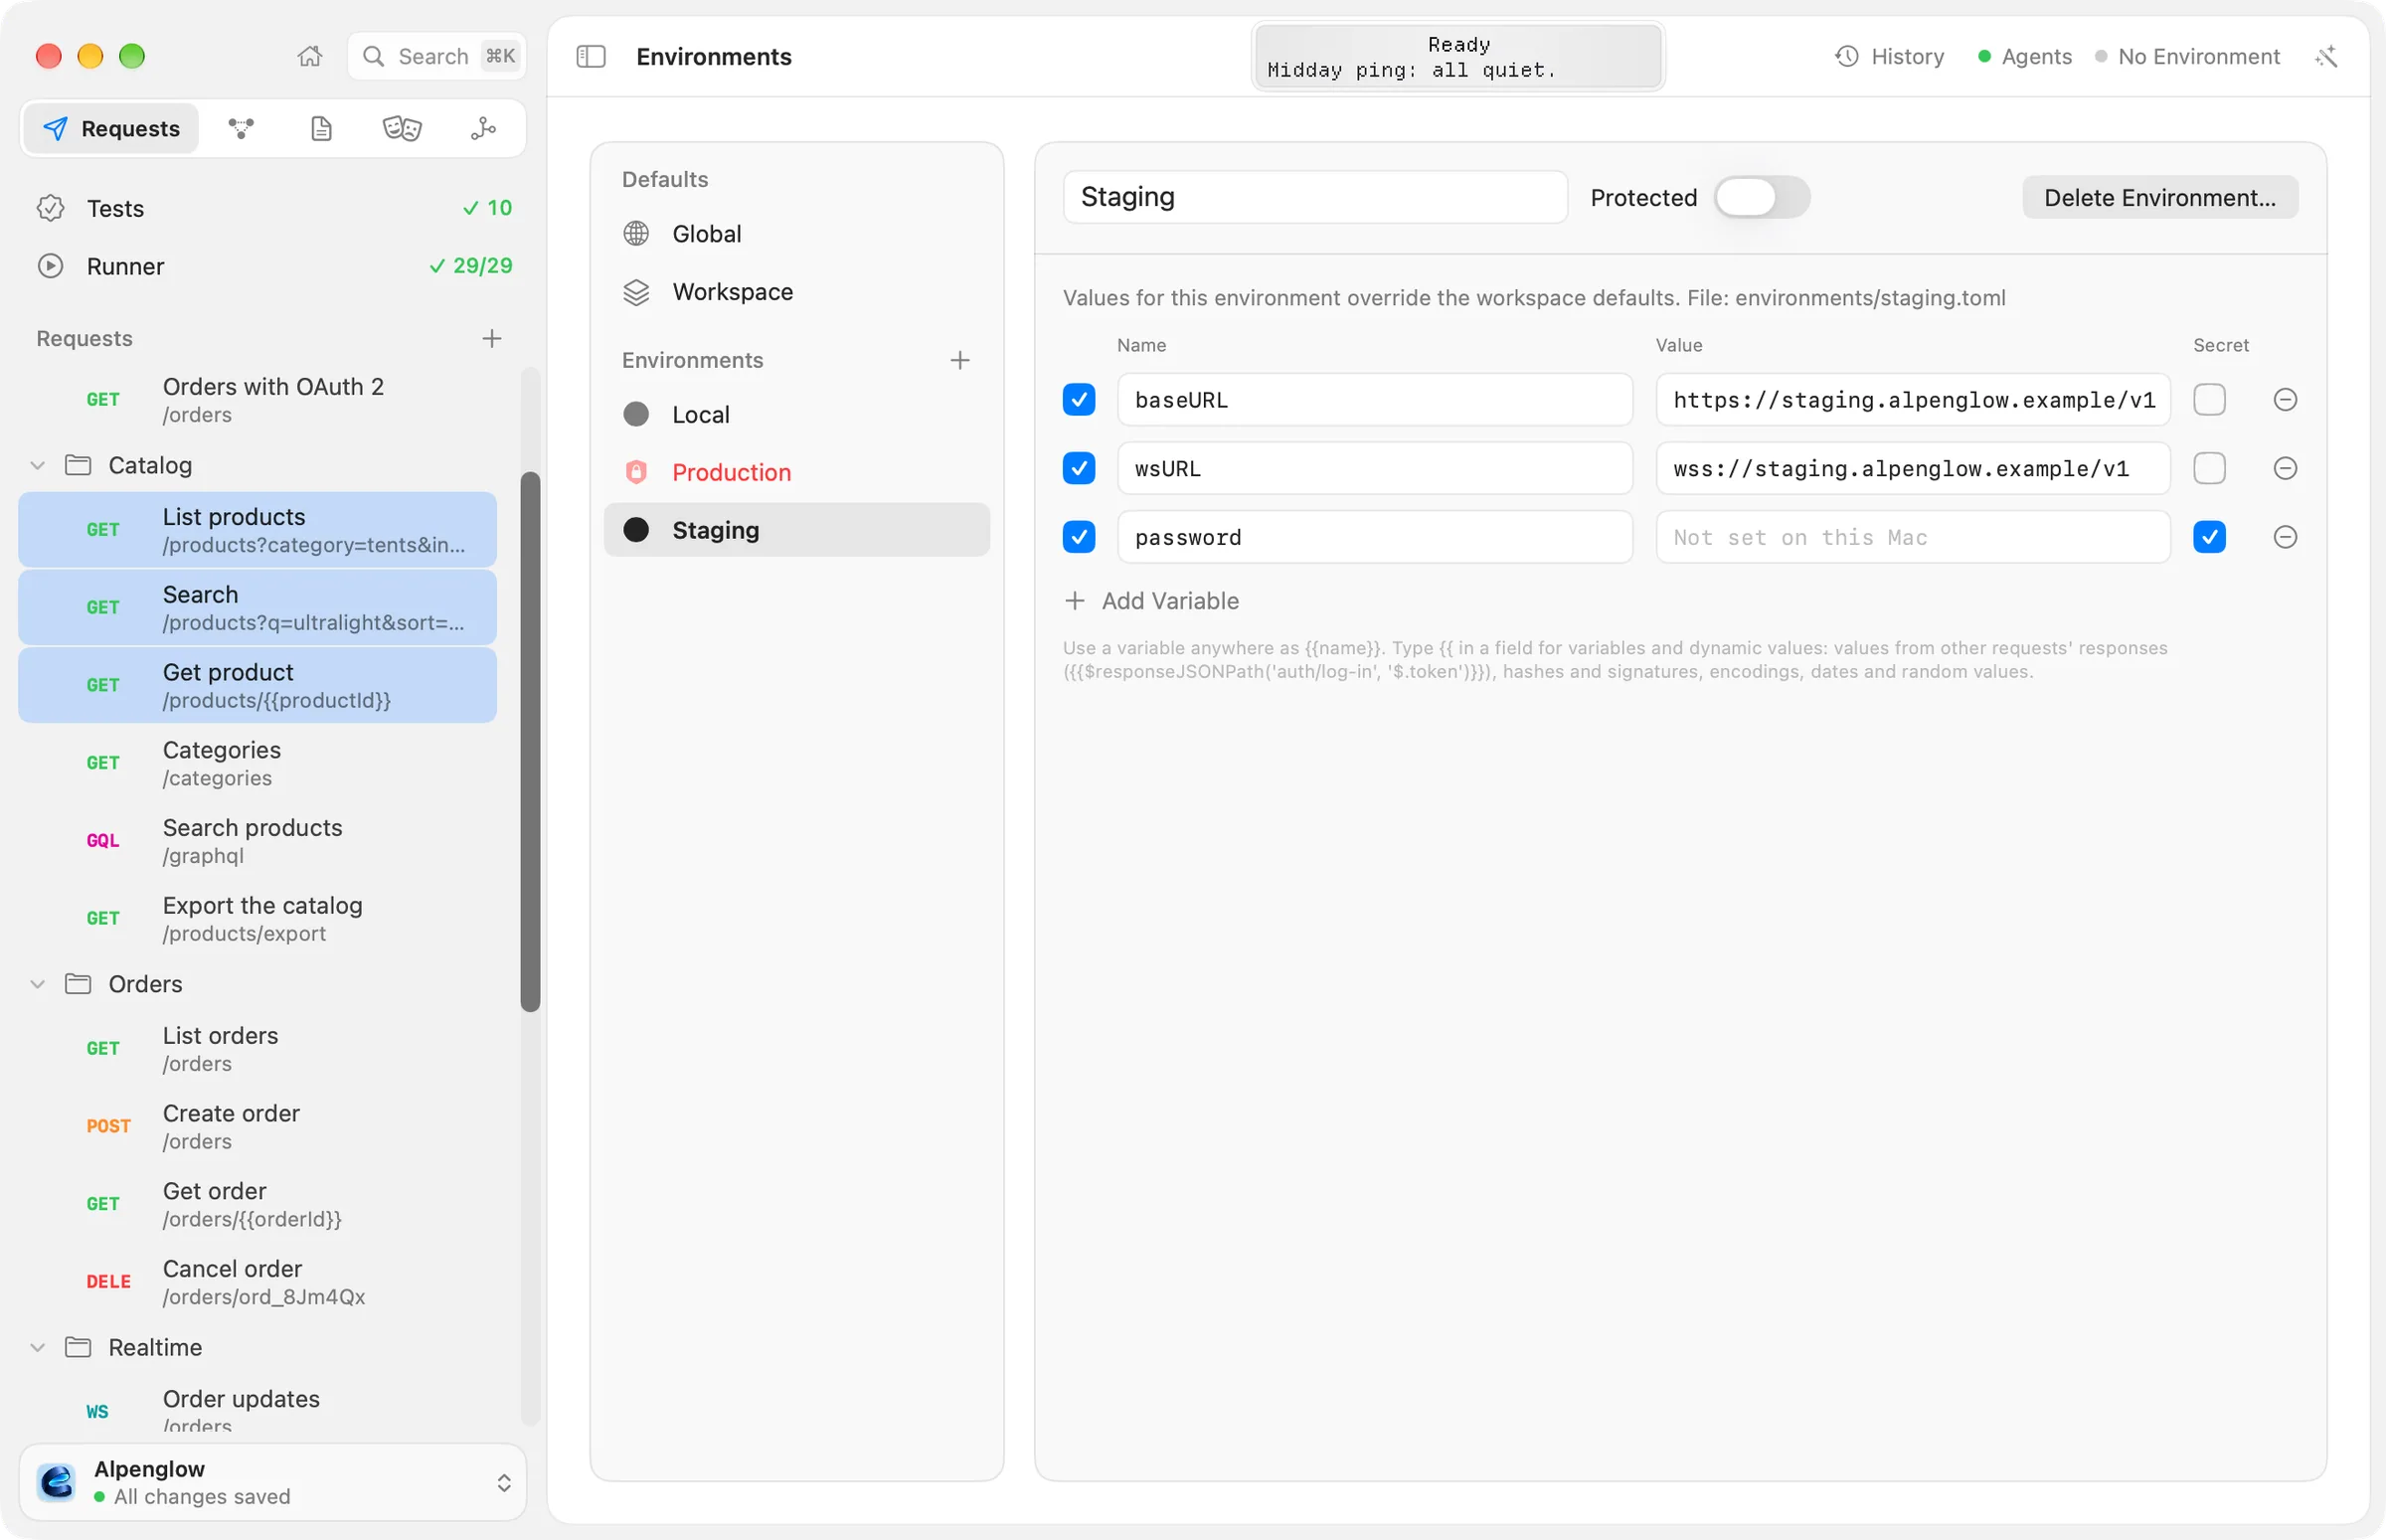
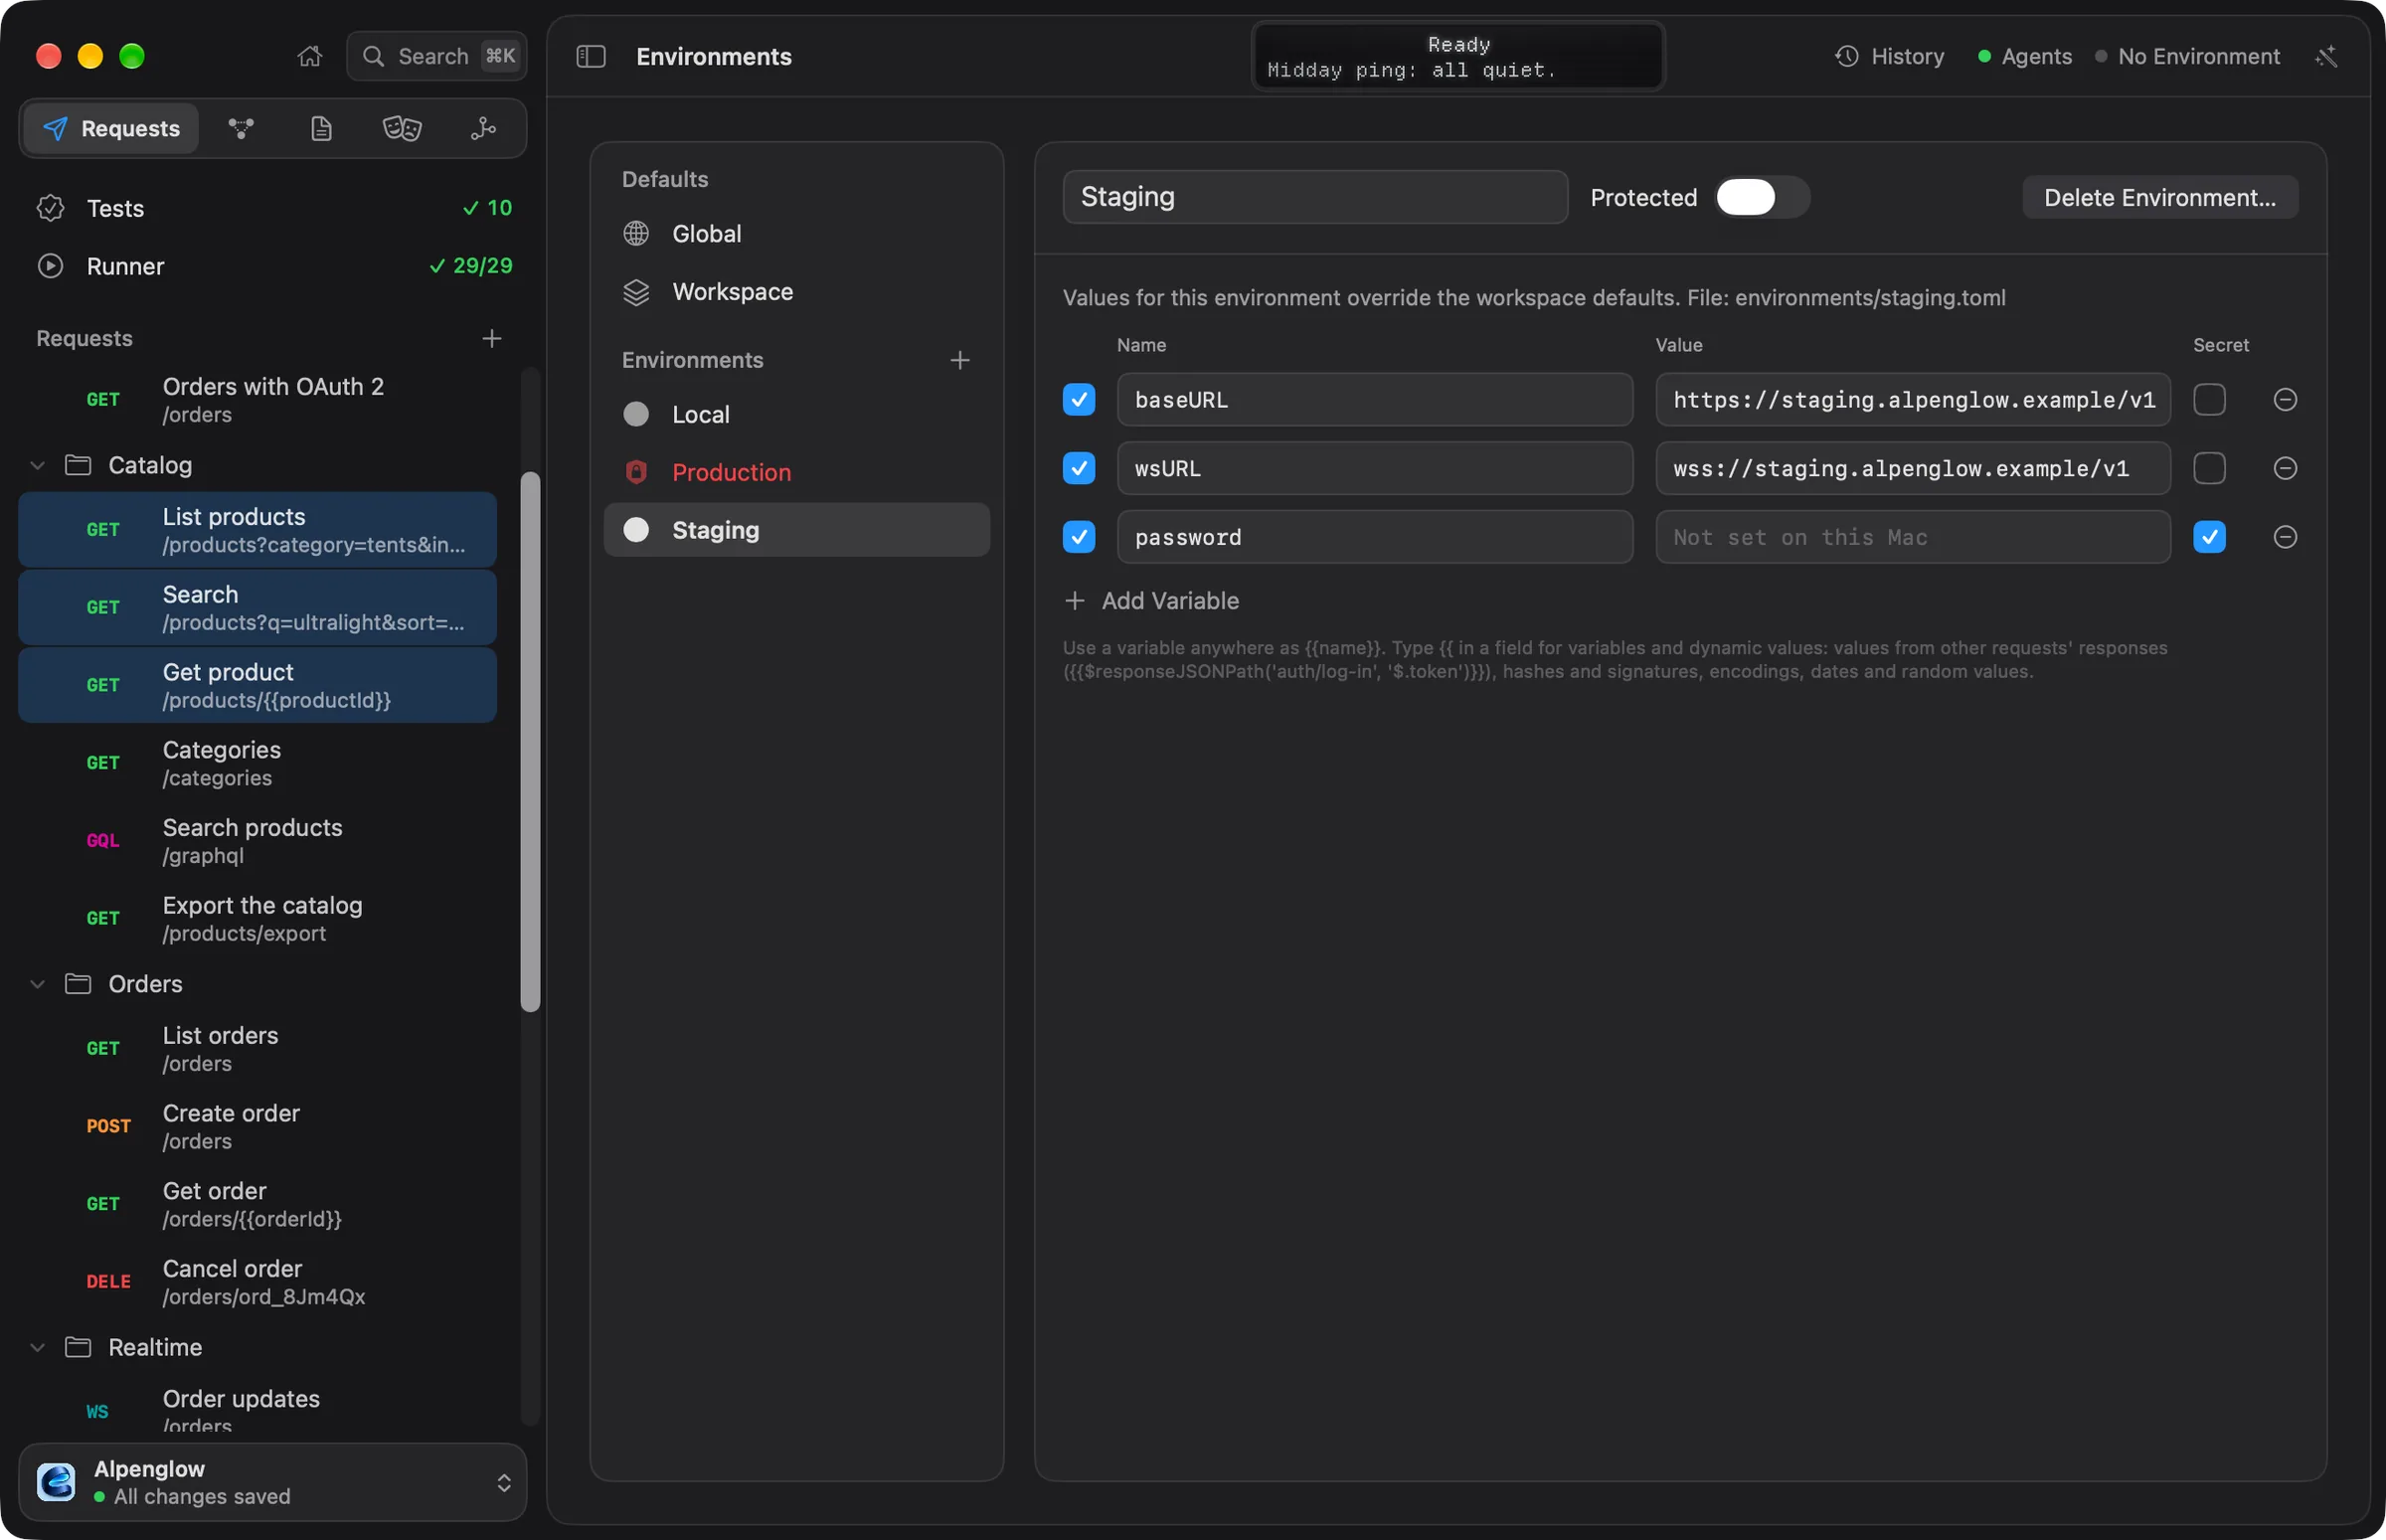
- Choose View › Environments (⌥⌘E), or open the environment menu in the page header and choose Manage Environments….
- Choose + (Add Environment). A New Environment appears. Change its Name to
Demo. - Choose Add Variable. Set Name to
baseURLand Value tohttps://demo.echolot.dev/v1. - Add a second environment named
LocalwithbaseURLset tohttp://localhost:8787/v1. That is the demo API run on your own Mac; you don't need it running for this tutorial. - In the page header's environment menu, choose Demo.
- Go back to List products and change its URL to
{{baseURL}}/products?category=tents. Do the same for Get product:{{baseURL}}/products/TNT-MH-2P.
While you type {{, a list offers your variables. In the URL, {{baseURL}} shows as a token; rest the pointer on it
to see its value in the current environment. Send both requests again: they still reach the demo API. Choose
Local and they would go to your Mac instead, with no other change.
5. Keep a password secret
Signing in to the shop takes a password. A password must never go into a file you commit.
-
On the Environments page, select Demo and choose Add Variable.
-
Name it
passwordand tick its Secret box. The value field changes to a password field that says Not set on this Mac. -
Type
alpenglowand press ↩ (or choose Save). A key icon shows that the value is in the Keychain. -
Make a folder
Authand a requestSign inin it. Set its method to POST and its URL to{{baseURL}}/auth/token. -
In the Body tab, choose JSON and type:
{ "email": "heidi@alpenglow.ch", "password": "{{password}}" } -
Send it.
The answer is 200 OK with an access_token. Echolot adds Content-Type: application/json for a JSON body by
itself. Look at environments/demo.toml: the password variable is there with secret = true and no value. The
value lives only in this Mac's Keychain, so each person who opens the workspace sets their own; see
secrets.
The next tutorial uses that token for the requests that need it.
6. Put the workspace in Git
Echolot has no Git commands of its own: a workspace is plain TOML files, so you use Git as you do for code.
-
In the sidebar's foot, open the workspace menu and choose Show in Finder. Drag the
Alpenglow Shop.echolotfolder onto Terminal's icon, orcdinto it. -
Run:
git init
git add .
git commit -m "Alpenglow Shop: catalog and sign-in"
What you committed:
Alpenglow Shop.echolot/
├── workspace.toml
├── environments/
│   ├── demo.toml
│   └── local.toml
└── requests/
    ├── _folder.toml
    ├── auth/
    │   ├── _folder.toml
    │   ├── sign-in.req.toml
    │   └── sign-in.body.json
    └── catalog/
        ├── _folder.toml
        ├── get-product.req.toml
        └── list-products.req.toml
Nothing in it is secret, and nothing needs a .gitignore: responses and history are kept outside the workspace, in
Echolot's own storage. Each file is written the same way every time, so a diff shows only what you changed.
When someone else pulls changes, an open window picks them up by itself. If a file changes on disk while you have unsaved edits to it, a bar says This request changed on disk: choose Use Theirs or Keep Mine. More in Git and teams.
Next steps
- Chain requests: send the token from Sign in to every request that needs it.
- Protected environments: make Echolot ask before every send to a server that matters.
- Workspace files: every file and field.