 Echolot
Let an agent use your workspace safely
Connect Claude Code or another MCP client to a workspace, decide what it may do, approve its sends, protect an environment, and keep secrets out of its reach.
Echolot is an MCP server for your workspace: an AI agent such as Claude Code can list your requests, send them and read the answers. You decide what it may do without asking, what it must ask for, and what it may never do. Secret values never reach it. In this tutorial you connect Claude Code to Alpenglow, approve and refuse its sends, protect an environment, and then do the same with Echolot's built-in Assistant.
- Time: 20 minutes.
- You need: the Alpenglow workspace, and an MCP client: Claude Code
(
claudein Terminal), Claude Desktop, Cursor, VS Code or Codex. For the last part, an API key for a model provider, or a local model in Ollama. - You learn: Settings › Agents, approvals, the workspace's agent rules, protected environments, and what agents see instead of secrets.
1. Turn agents on
- Choose Echolot › Settings… (⌘,) and open Agents.
- Under Access, turn on Let agents use open workspaces.
- Under Tools for agents, leave Requests and Flows on. Requests lets an agent list, read, create and send requests; Flows runs the flows you offer to agents. The others (Workspace, Environments, Specs, Mocks, MCP servers, History, Flow editing) are off until you turn them on.
Some tools are never offered, whatever you turn on: the policy itself, proxies, certificates, auth settings, scripts, and starting flows you haven't offered.
2. Connect Claude Code
-
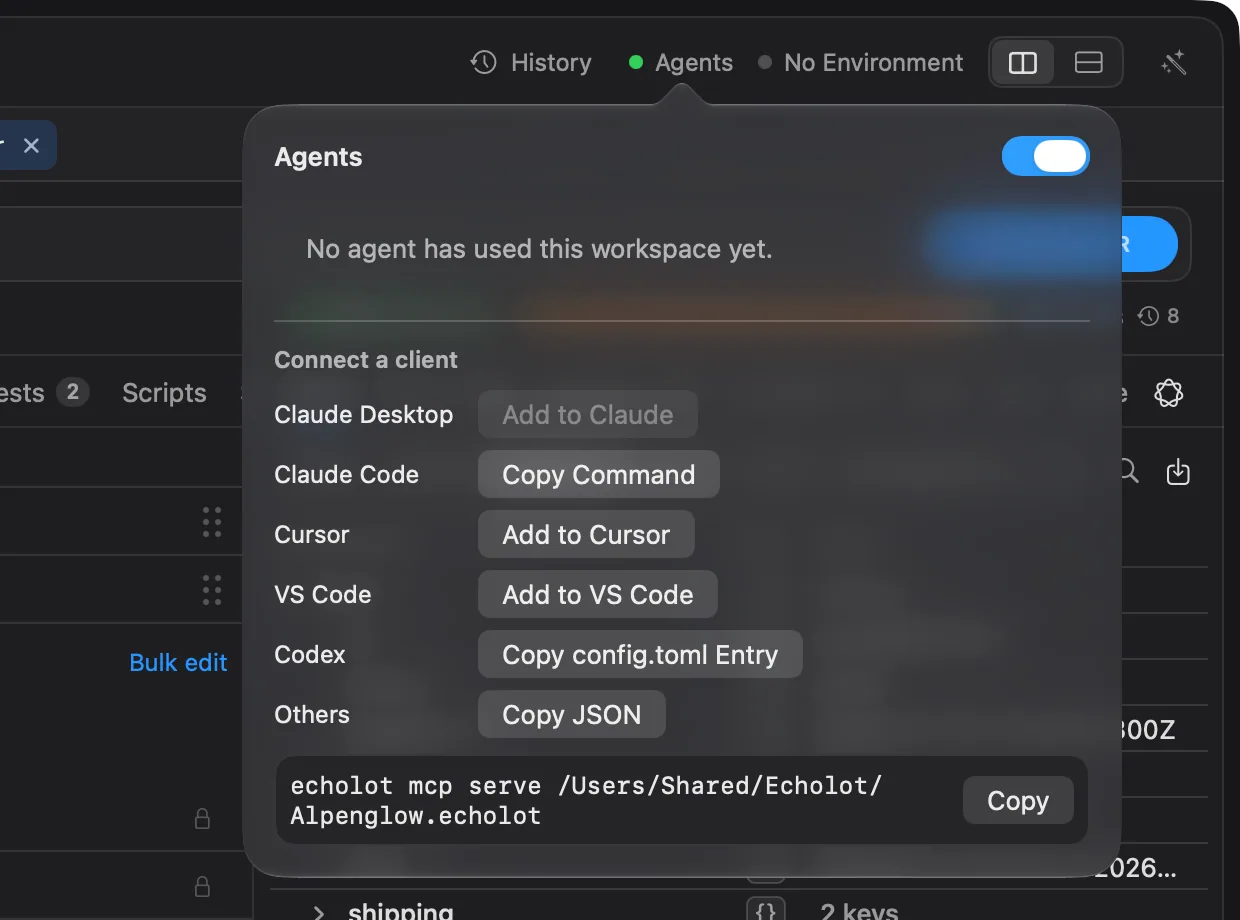
In the Alpenglow window, choose Agents at the top of the page.
-
Under Connect a client, find Claude Code and choose Copy Command. The command looks like this:
claude mcp add --scope user echolot-alpenglow -- /Applications/Echolot.app/Contents/Helpers/echolot mcp serve /Users/you/Projects/Alpenglow.echolot -
Paste it into Terminal and run it.
The other clients have their own button: Add to Cursor and Add to VS Code open an install link,
Copy config.toml Entry is for Codex, Copy JSON gives an mcpServers block for any other client, and Claude
Desktop's Add to Claude installs an extension. Every client runs echolot mcp serve, which hands its calls to
the open window, so your approvals and the window's environment apply.
Mac App Store edition
The App Store edition doesn't include the command-line tool or the Claude Desktop extension. Install the command-line tool on its own first; the commands and snippets you copy point at it.
Compare the editions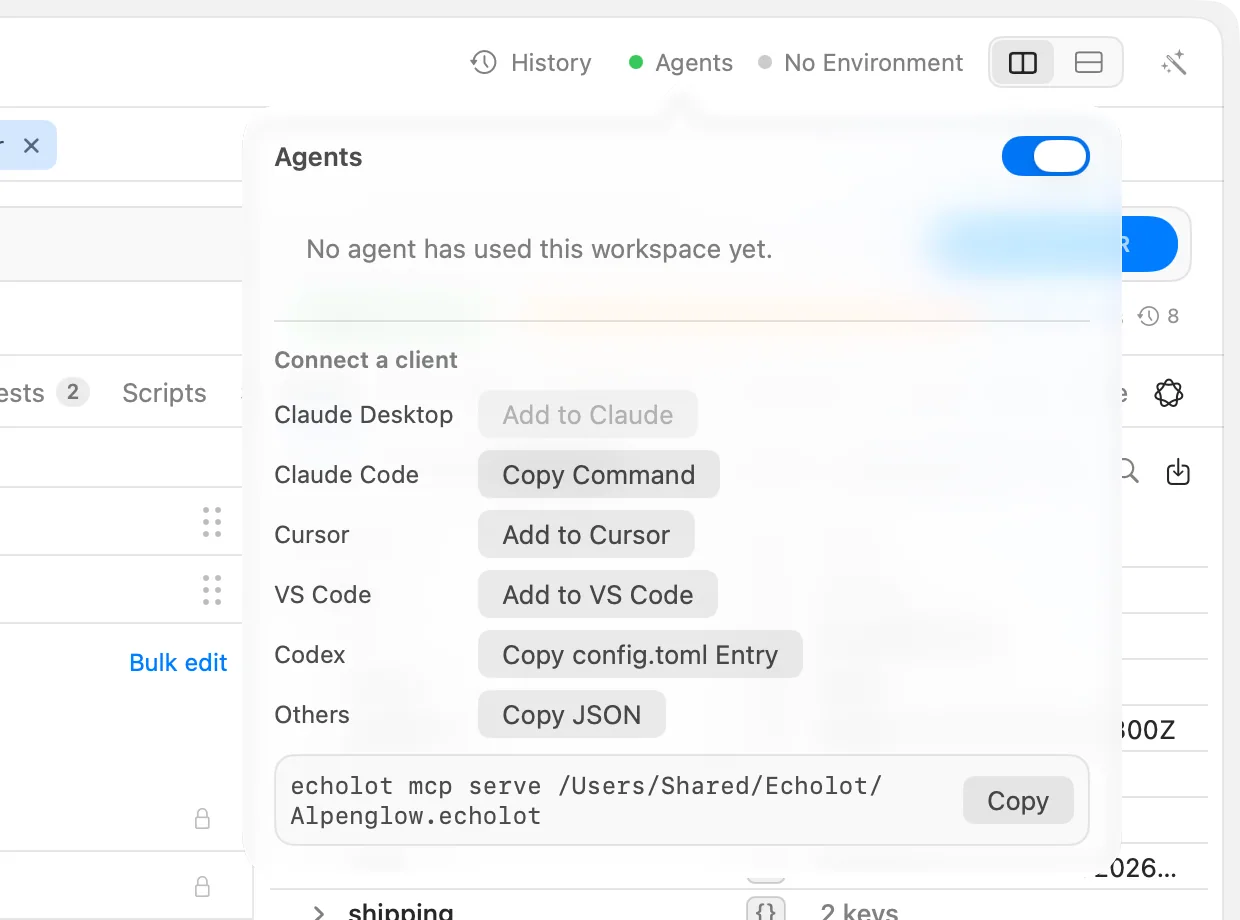
3. Let it read and send
-
Start
claudein Terminal and ask:Using echolot-alpenglow, list the requests in the Catalog folder, send List products, and tell me the most expensive tent in stock.
-
It lists the requests and sends List products without asking you: by default, an agent may read the workspace and make safe sends (
GET, GraphQL queries, MCP reads). -
In Echolot, the Agents button now reads Agents · 1. Its popover lists the client under Recent calls, with an Allowed switch to cut it off.
The agent's sends are recorded in History with who sent them (⌘Y).
4. Approve a send that changes data
-
Ask:
Place an order for one TNT-MH-2P with Create order.
-
Echolot shows a sheet: Claude Code wants to send a request that may change data, with the request and a preview of what goes out. The
Authorizationheader shows asBearer ••••••. -
Choose one:
- Allow Once (↩): this send only.
- Allow for This Session: sends like this one until the window closes.
- Deny (Esc): the agent is told you refused.
-
Choose Allow Once. The shop answers
201 Created, and the agent reports the new order.
5. Keep secrets out of reach
Ask the agent:
What is the value of the token variable?
It can't tell you. A secret variable's value never reaches an agent: wherever it would appear, in a request, a
response or an error, the agent sees ••••••. That covers the value as written and in JSON, percent and Base64
forms. Searches through response bodies never count or place a match on a secret either.
6. Set the workspace's rules
The defaults are a starting point. Each workspace can set its own rules, and they go into workspace.toml, so they
travel with the workspace through Git.
- Open the workspace menu at the sidebar's foot and choose Workspace Settings…, then the Agents tab.
- Agents may use this workspace turns agents off for this workspace alone.
- Under What agents may do, each kind of action has Allow, Ask or Refuse (or Default): Read requests and environments, Safe sends (GET, GraphQL queries, MCP reads), Other sends, Sends to protected environments, Sends to new hosts, Changes to the workspace and Deleting. Set Other sends to Refuse.
- Under Hosts and limits, list the Allowed hosts, and set Sends per session or Sends per minute.
- Choose Done, and ask the agent to place another order. It is refused without a sheet.
A rule that is stricter than the default applies at once. A rule that would allow something without asking, say in a workspace you pulled from Git, waits for you: the Agents popover says what it would allow, agents still ask until you trust the rules, and Trust These Rules accepts them on this Mac.
Sends to protected environments and Sends to new hosts offer only Ask or Refuse: no rule lets an agent send there unasked. A redirect from an agent's send never carries a secret header to a host the workspace doesn't know.
7. Protect an environment
- In the page header's environment menu, choose Production. It is protected, so it is marked red with a lock.
- Ask the agent to send List products again. The sheet says Claude Code wants to send to a protected environment, and ↩ does nothing on it: you have to choose. Choose Deny. (Alpenglow's Production is a pretend address, so the send would fail anyway.)
- Send List products yourself. The button reads Send to Production…, and an alert asks Send to Production?. Cancel is the default; Don't ask again until I switch environments stops the questions until you choose another environment. Choose Cancel.
- Switch back to No Environment.
Mark an environment protected with the Protected switch on the Environments page. See protected environments.
8. Without the app: policies
echolot mcp serve also runs on its own, for an agent on a server or in CI, where nobody can approve anything. There
the policy decides, and anything that would ask is refused:
echolot mcp serve Alpenglow.echolot --policy readonly| Policy | What runs | What asks (refused when nobody can be asked) |
|---|---|---|
standard (default) | Reads and safe sends | Other sends and changes |
readonly | Reads | Sends; changes and deleting are refused |
permissive | Sends and changes | Deleting, protected environments, new hosts |
Headless, it runs only the scripts the workspace had when it started. More in agents and
echolot mcp.
9. The built-in Assistant
Echolot's own Assistant works through the same tools and the same approvals, in a panel beside every page.
- Choose Echolot › Settings… › Assistant. Under Add a provider, choose a Provider (Anthropic, OpenAI, Google Gemini, or an OpenAI-compatible server such as Ollama), enter the API key or Address, and choose Add. Keys are kept in the Keychain.
- In the Alpenglow window, press ⌘J (or choose the wand at the end of the page header).
- Type into Ask the assistant…:
Send every request in Catalog and tell me which checks fail. - Before anything from the workspace goes to a provider for the first time, Echolot asks Send to Anthropic? (or the provider you chose). Cancel is the default; choose Allow. It asks once per provider, and Settings › Assistant can take it back. Models on your Mac or on a local server never ask.
- Its sends go through the same sheet, which reads The agent wants to ….
What the Model Sees in the panel's header shows exactly what was sent to the model. See the Assistant.
Direct download only
The Assistant can also use a command-line agent on your Mac (CLI agent (ACP): Claude Code, Codex, Gemini CLI) in the direct download.
Compare the editionsNext steps
- Agents: every setting, toolsets, and other clients.
- Automate with a flow: offer a flow to agents as one tool, with an Approve block that asks a person.
- Privacy and security: what leaves your Mac and when.
Inspect an MCP server
Add the demo shop's MCP server, look at what it offers, call its tools, read how a model sees it, and save calls as requests with checks.
Realtime
Watch live order events over WebSocket and Server-Sent Events from the demo API, then chat over Socket.IO and read sensors over MQTT on servers on your Mac.