 Echolot
Automate with a flow
Build a flow on the canvas that signs in, lists orders, decides and notifies you; run it, schedule it and start it from a webhook.
A flow chains requests and other steps on a canvas, so a job you do by hand runs with one click, on a schedule, or when another system calls it. In this tutorial you build Orders to ship: it signs in to the demo shop, lists Heidi's orders, and sends a notification when one is paid but not shipped yet.
- Time: 20 minutes.
- You need: the Alpenglow workspace with No Environment chosen. Its flow Morning stock check is a finished example of the same shape.
- You learn: blocks and links, the If and Notify blocks, the run log, schedules, webhooks and
echolot flow run.
1. Make a flow
- Switch to Flows (⌘5).
- Open the sidebar's + menu (New Flow) and choose Empty Flow. A flow New Flow opens with a Start block linked to an Output block.
- Click empty canvas so no block is selected. In the inspector, set Name to
Orders to shipand Description toSays when an order is paid but not shipped.
While a flow is open, the sidebar lists the workspace's Requests to drag onto the canvas. The From a Template section of the + menu starts from a ready-made flow instead, such as Paginate and export; see templates.
2. Add the requests
- Rest the pointer on the link between Start and Output and choose its Break this link button.
- Drag Auth › Sign in from the sidebar onto the canvas. It becomes a Request block titled Sign in, with
the input
sendand the outputssuccessandfail. - Drag Orders › List orders onto the canvas to the right of it.
- Link them: drag from Start's
runport to Sign in'ssendport, then from Sign in'ssuccessport to List orders'sendport.
Sign in stores the token in {{token}} every time it succeeds, so List orders sends the new one. A Request
block's success output carries the response: status, headers, body, time and url. fail fires when the
request gets no response or a check fails.
3. Decide with an If block
-
Choose Block in the toolbar (⇧⌘B), type
Ifinto Search blocks or requests, and press ↩. -
In the inspector, set Title to
Waiting to ship?and Condition to:value.body.items.some(o => o.status === 'paid')The condition is JavaScript.
valueis what came in: here, the response of List orders. -
Link List orders'
successto the If block'svalue.
4. Notify yourself
-
Drag from the If block's
trueport and let go over empty canvas. The block picker opens there. Choose Notify: it comes linked totrue. -
Under the block's settings, set Title to
Orders to shipand Message to:{{value.body.total}} orders, at least one paid and waiting.{{value…}}fills in parts of what came in; workspace variables work too. -
Link List orders'
successto the Output block'svalueas well. A webhook answers with what reaches Output (step 7).
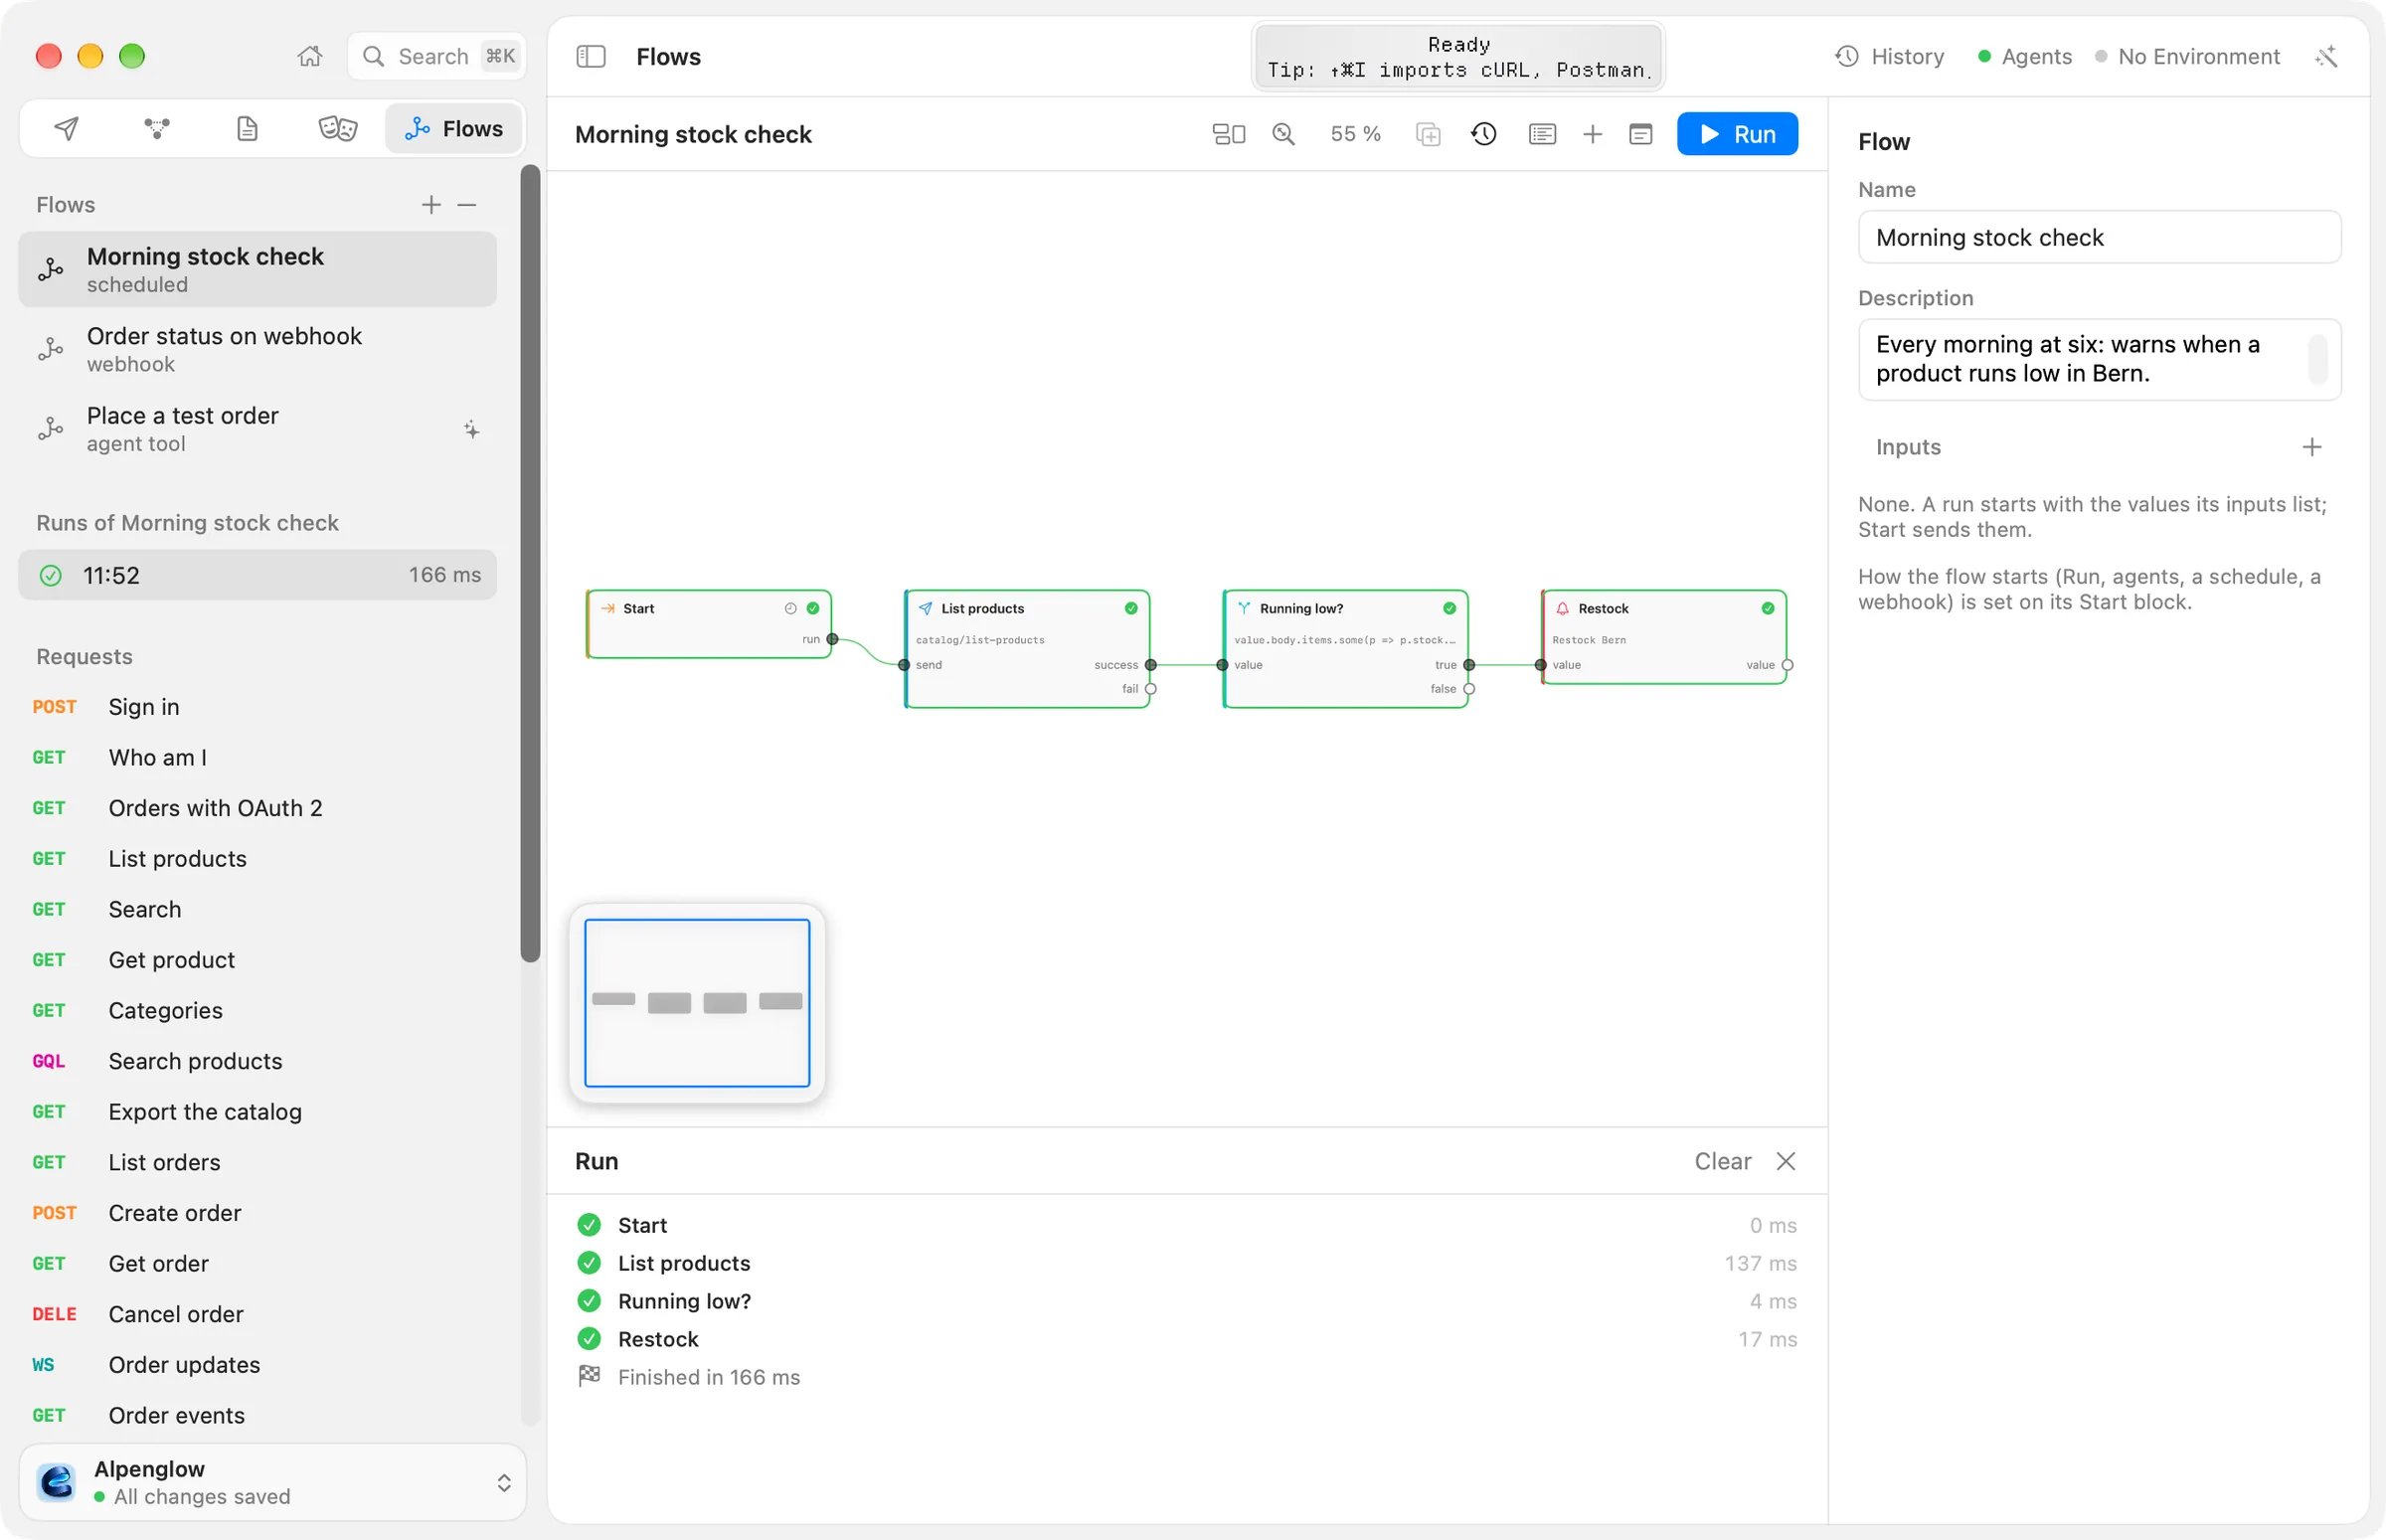
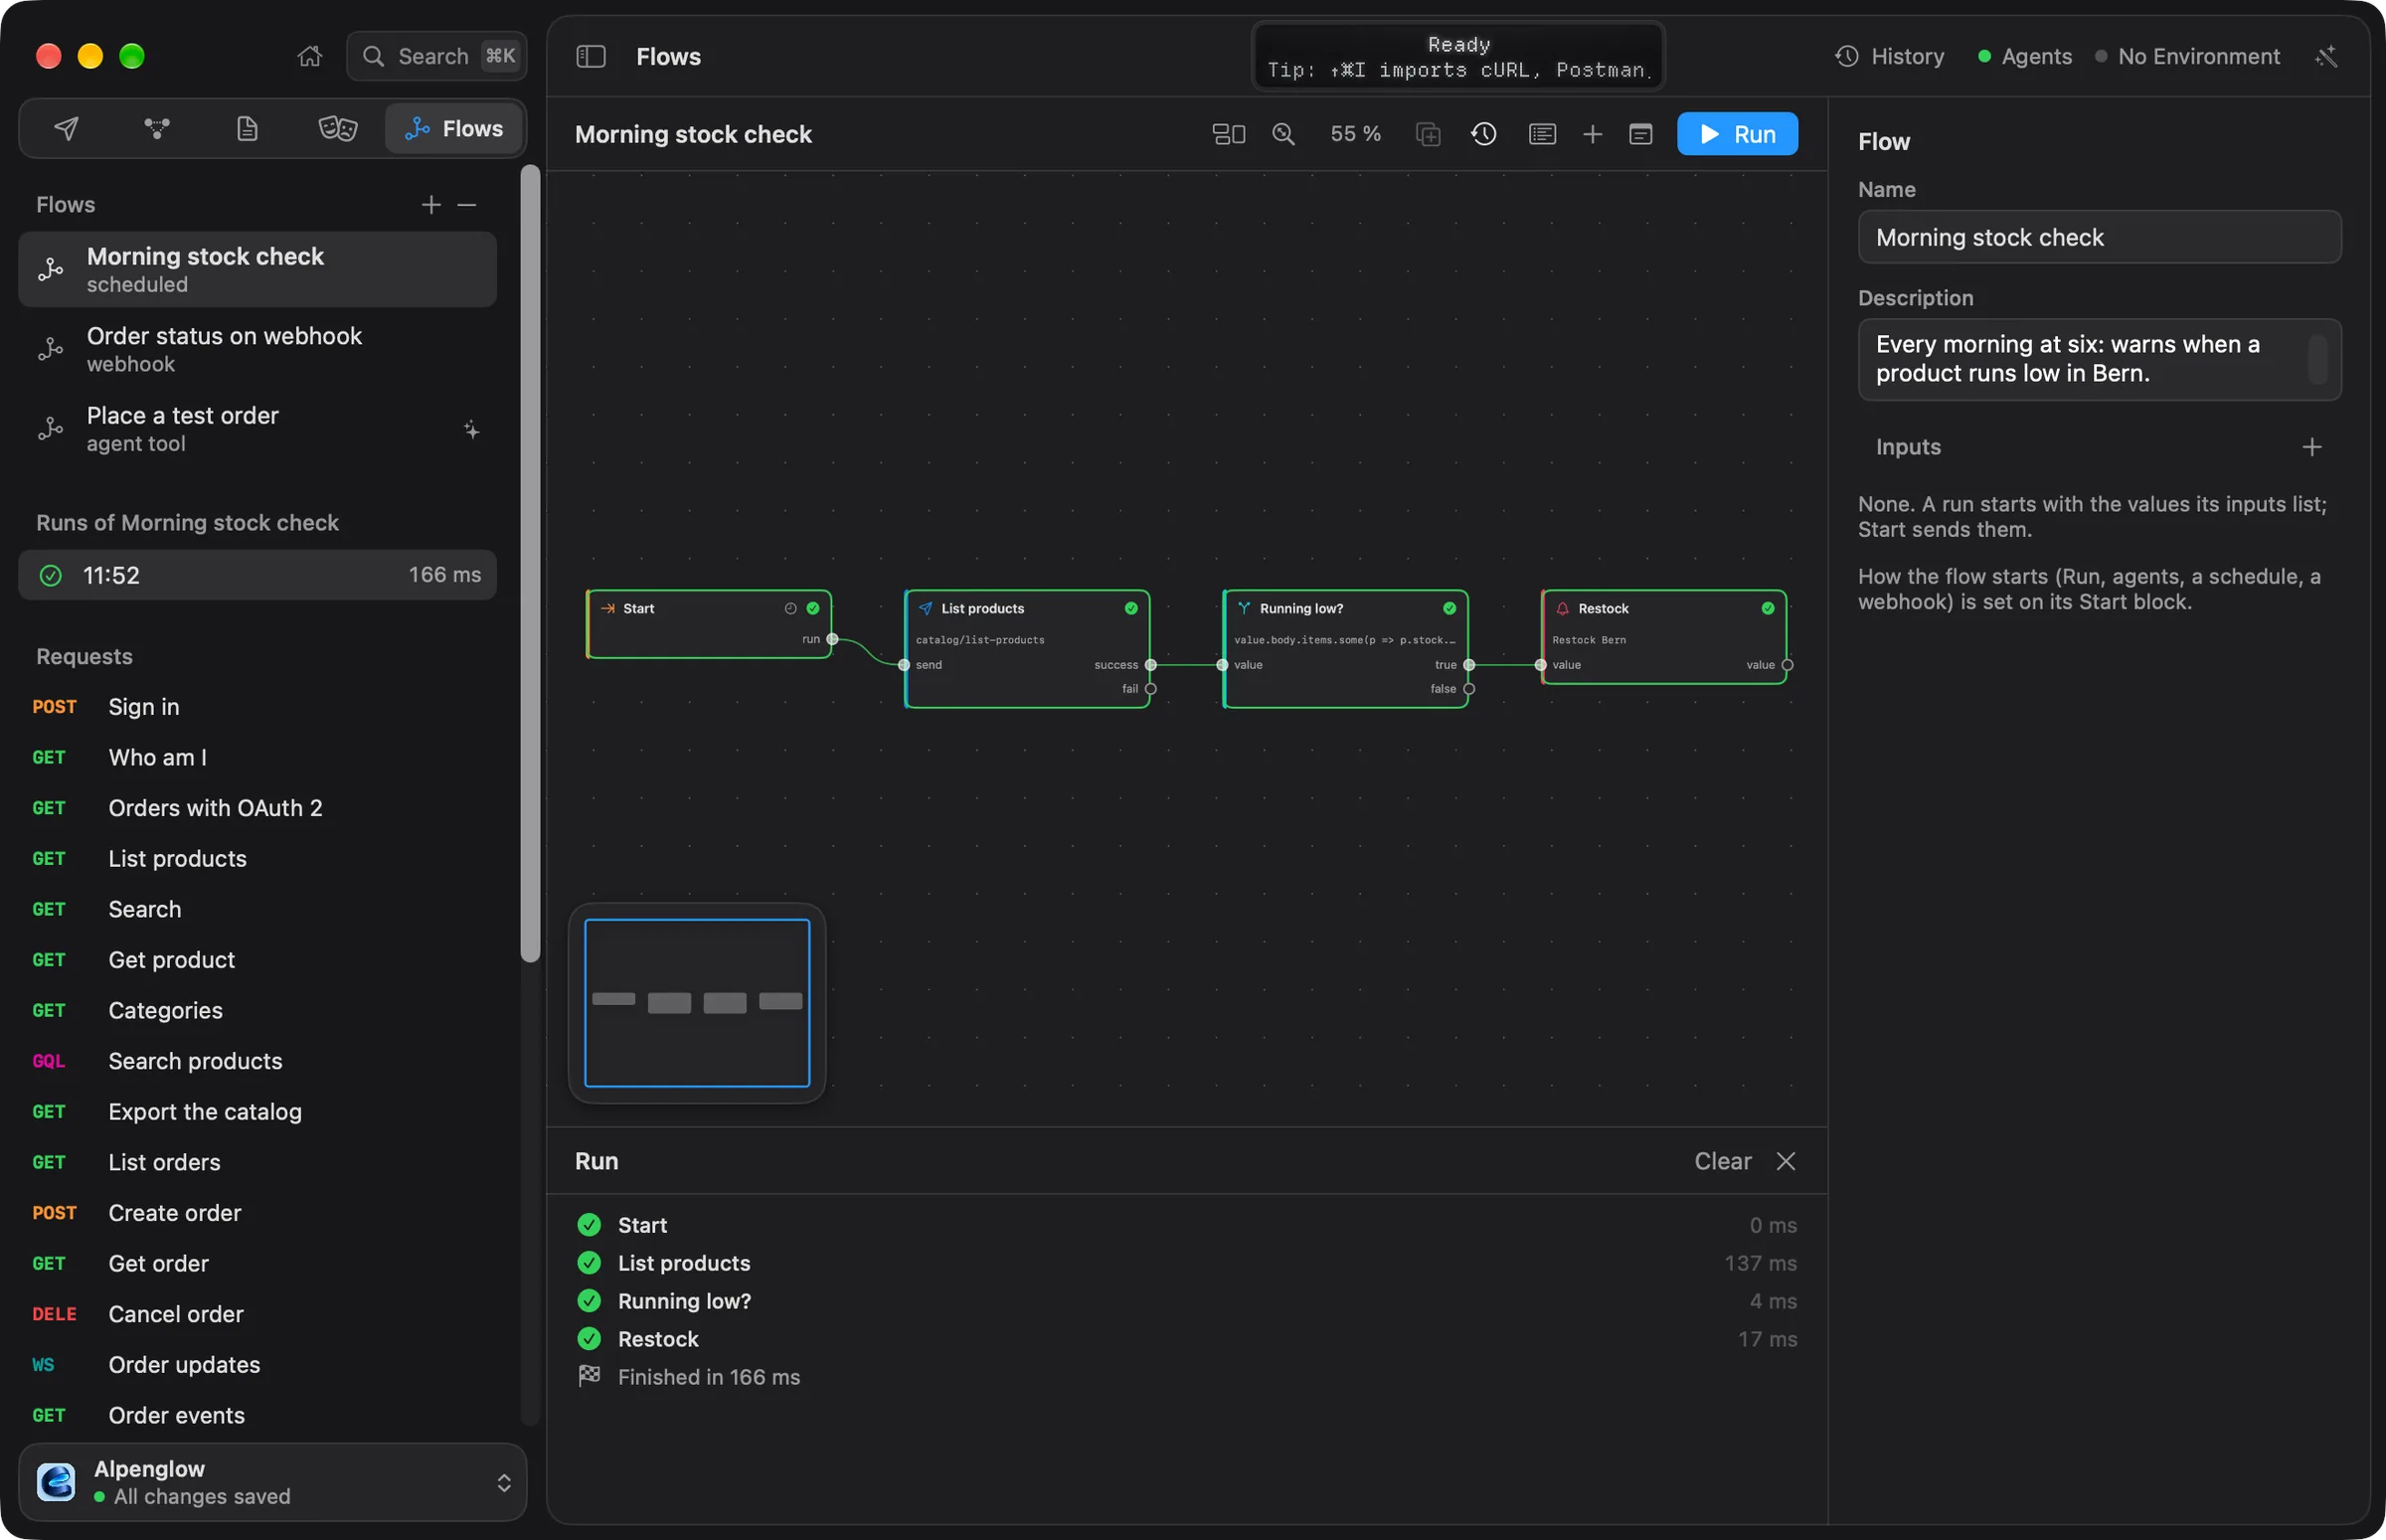
Choose Tidy Up to line the blocks up in the order they run, and Fit (⌥⌘0) to see them all.
5. Run it
- Choose Run (⌘R).
- Each block shows a badge as it runs, then Done. The run log under the canvas lists every block with its time.
- A notification says Orders to ship: 3 orders, at least one paid and waiting. The demo's order
ord_8Jm4Qxis paid. The first time, macOS asks whether Echolot may show notifications. - Select List orders. The inspector's Last run shows what came in and went out; switch Show between Input and Output.
Change the condition to o.status === 'cancelled' and run again: the If block sends its value to false, which
links to nothing, so no notification comes. Set it back.
When a run fails, the failing block shows the error. Where the Mac's on-device model is available, Explain the Failure in the run log says what went wrong. Earlier runs stay in the toolbar's Runs menu. More in running and triggers.
6. Run it on a schedule
- Select the Start block. Its inspector has a Triggers section.
- Turn on Schedule. With Interval chosen, set Every to
60minutes; or choose Set times (cron) and type a cron line (minute, hour, day, month, weekday), such as0 7 * * 1-5for seven o'clock on weekdays. - Choose Allow. Echolot asks you to allow a flow before anything starts it without you, and asks again after it changes (Allow Again). Revoke stops it.
The inspector shows the next run. Schedules run while the workspace window is open. To run them without the app,
use echolot flow serve -w Alpenglow.echolot on a Mac or a server that stays on.
7. Start it from a webhook
-
In the Start block's Triggers, turn on Webhook. Leave the method on POST and set the path to
/orders-to-ship. -
Choose Allow. The inspector shows the address on
127.0.0.1with Copy URL and Copy Token. -
In Terminal, call it with the token as a Bearer token:
curl -X POST 'http://127.0.0.1:PORT/orders-to-ship' -H 'Authorization: Bearer TOKEN'Paste the URL and token you copied. The flow runs, and the answer is what reached Output: the orders.
A query string and a JSON body fill the flow's inputs. The webhook answers on this Mac only, while the window is open;
echolot flow serve serves webhooks without the app, on port 4100 by default. Alpenglow's Order status on
webhook is another example. A flow can also be offered to AI agents as a tool (Agents (an MCP tool)); see
agents.
8. Run it from Terminal
echolot flow list -w Alpenglow.echolot
echolot flow run "Orders to ship" -w Alpenglow.echolot
It prints each block as it finishes, with its time, then the notification's text and the result:
✓ start  Start  0 ms
✓ …      Sign in  168 ms
✓ …      List orders  116 ms
✓ …      Waiting to ship?  4 ms
notification: Orders to ship — 3 orders, at least one paid and waiting.
✓ …      Notify  0 ms
Orders to ship: passed in 304 ms
In CI, add --no-input so a flow that needs a person fails instead of
waiting. The flow is a file in the workspace's flows folder, so it goes into Git with the requests it uses. See
echolot flow.
Next steps
- Blocks: Approve, Ask, For Each, Poll, Write File and the rest.
- Templates: device sign-in, token refresh, paginate and export, a smoke monitor.
- Let an agent use your workspace safely: offer a flow to an agent as one tool.
Design spec-first and mock it
Bring in or design an OpenAPI spec, lint it, serve a mock of it, send requests to the mock and check real responses against the spec.
Inspect an MCP server
Add the demo shop's MCP server, look at what it offers, call its tools, read how a model sees it, and save calls as requests with checks.